Controls
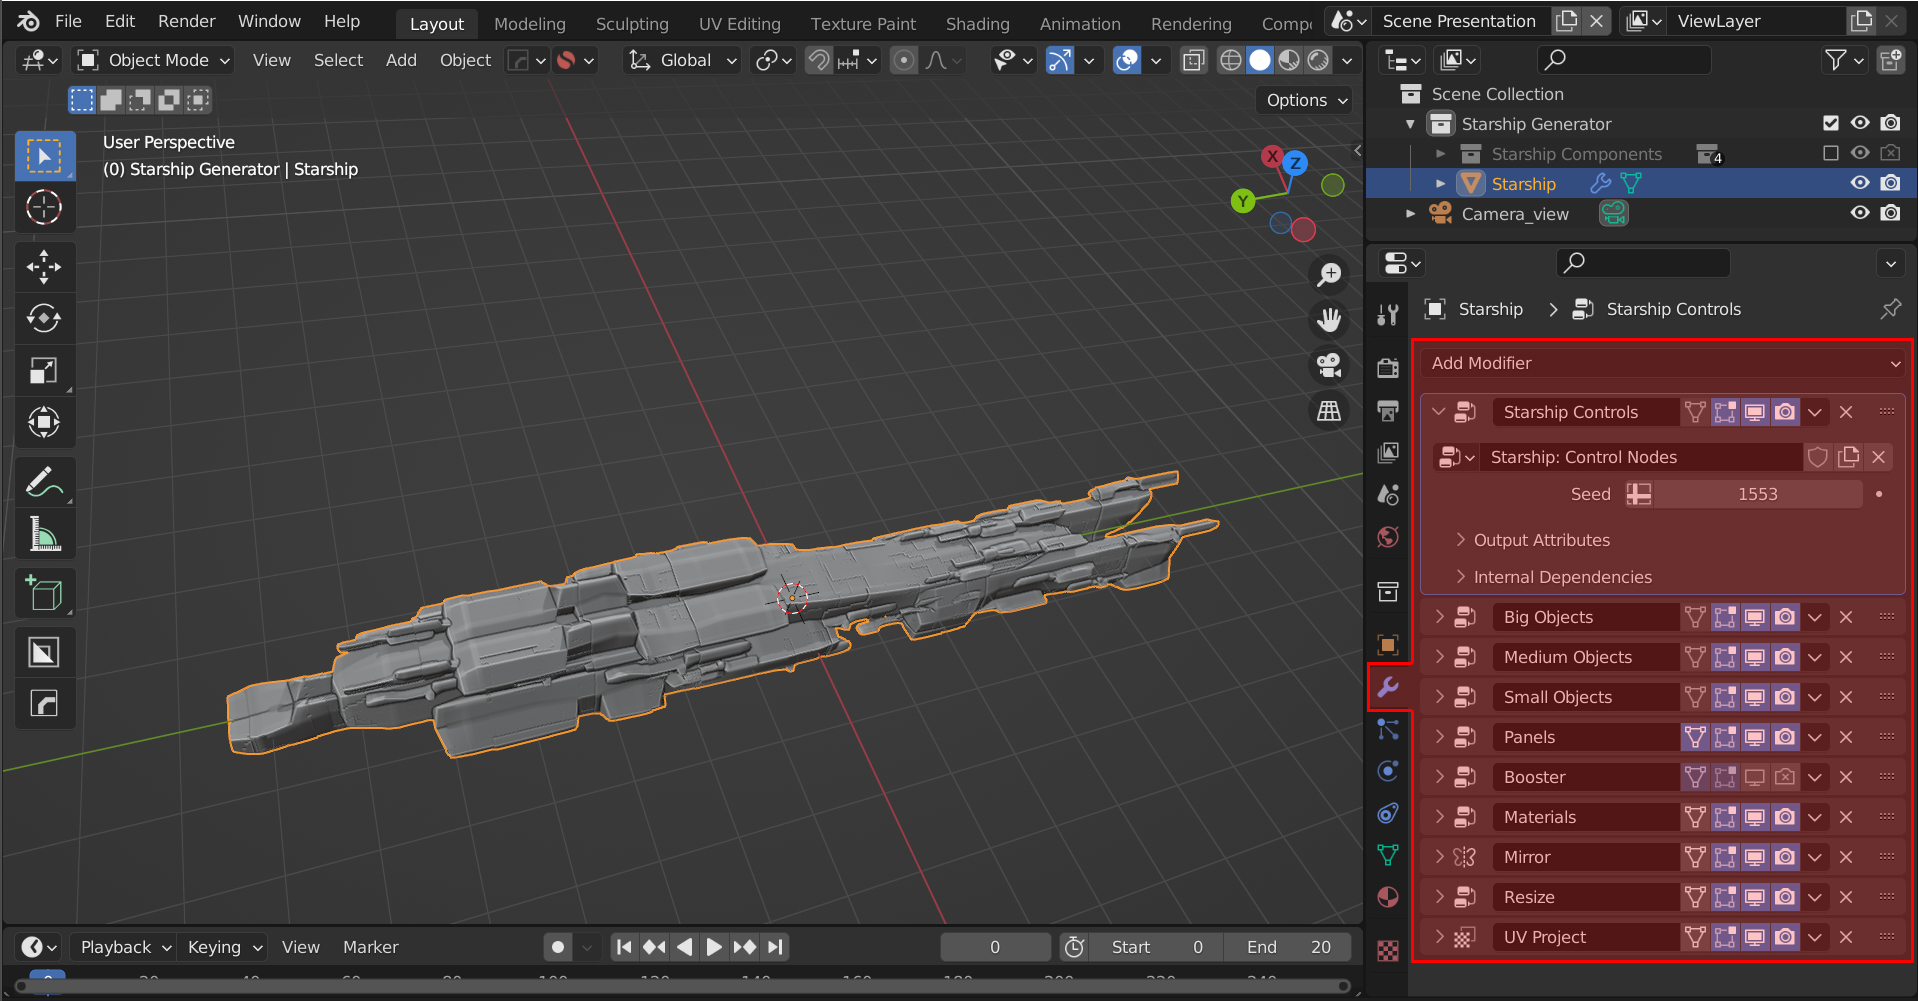
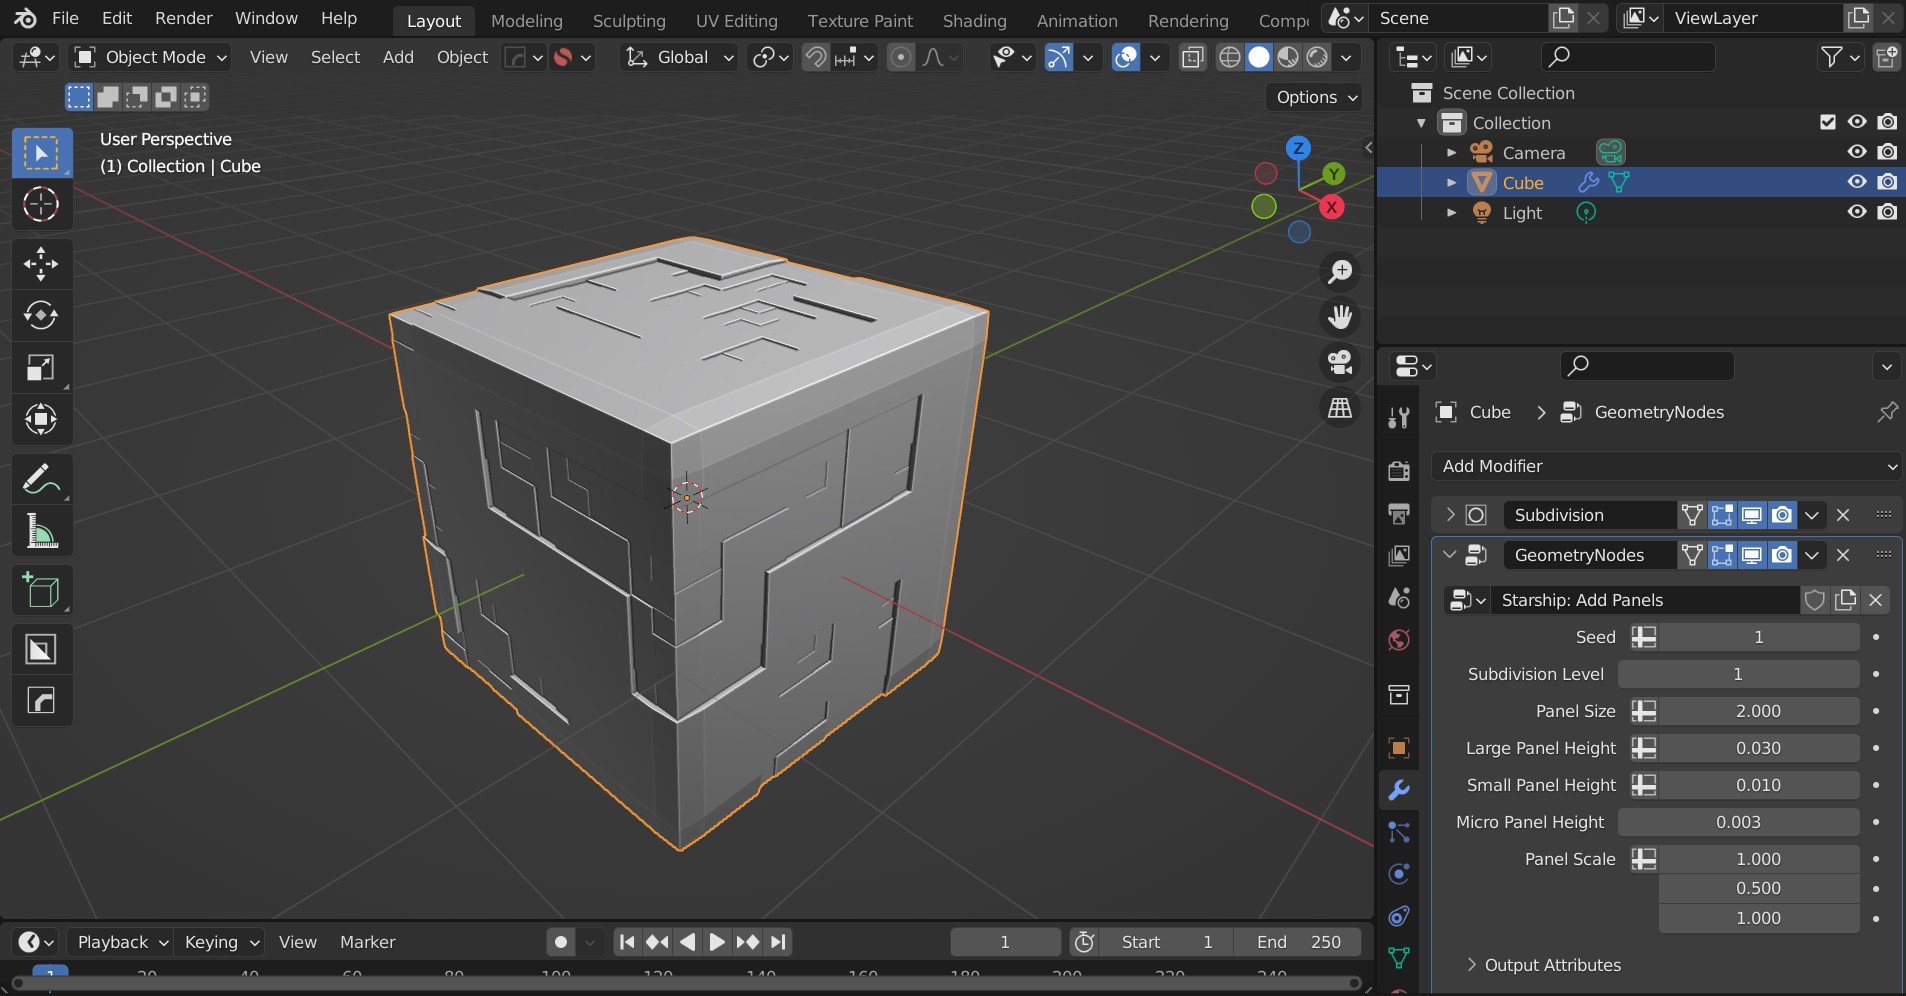
Click on the Starship object to select it, and navigate to the Modifiers tab. You’ll see a set of modifiers that are used to generate the object. Most are backed by Blender’s Geometry Nodes. Key parameters are exposed in the UI for you to control:
Note
Some controls are for Blender 4 only and will not appear in older versions of Blender.
Starship Controls Modifier
This sets any overall controls for the Starship.
Seed: This is the number that controls the random generation of the entire object. Changing this number changes the entire starship configuration. It passes on the seed to all other modifiers through the seed_attr attribute.
Tip

If you see the word seed_attr against a parameter in other modifiers, it is using the seed parameter attribute defined in the Starship Controls Modifier.
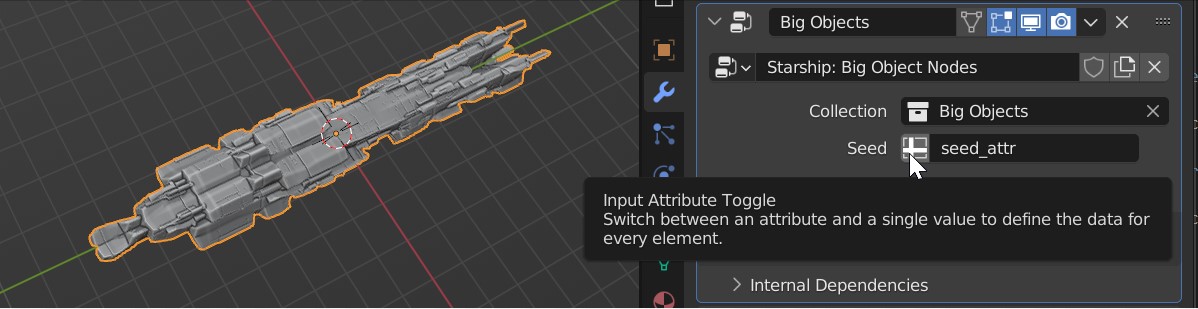
You can toggle between using this seed parameter attribute and using an individual numerical value for the modifier by clicking the “Input Attribute Toggle” button next to the parameter in the modifier you want to change:
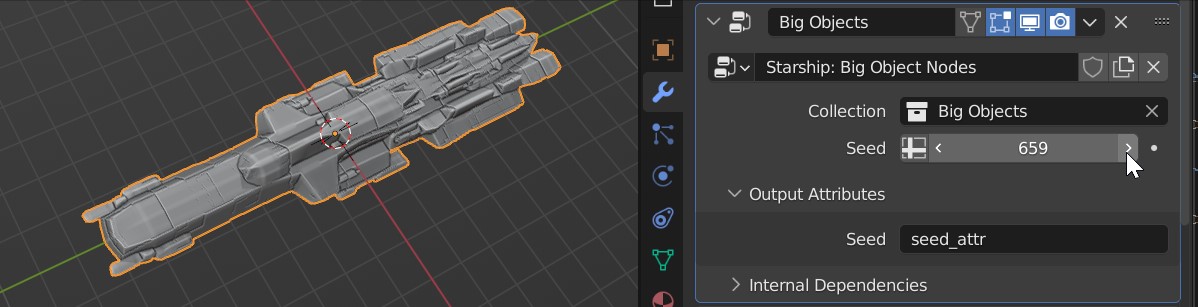
Doing this will allow you to control a modifier’s randomness separately to other modifiers. For instance, you may wish to control the Panels modifier separately.
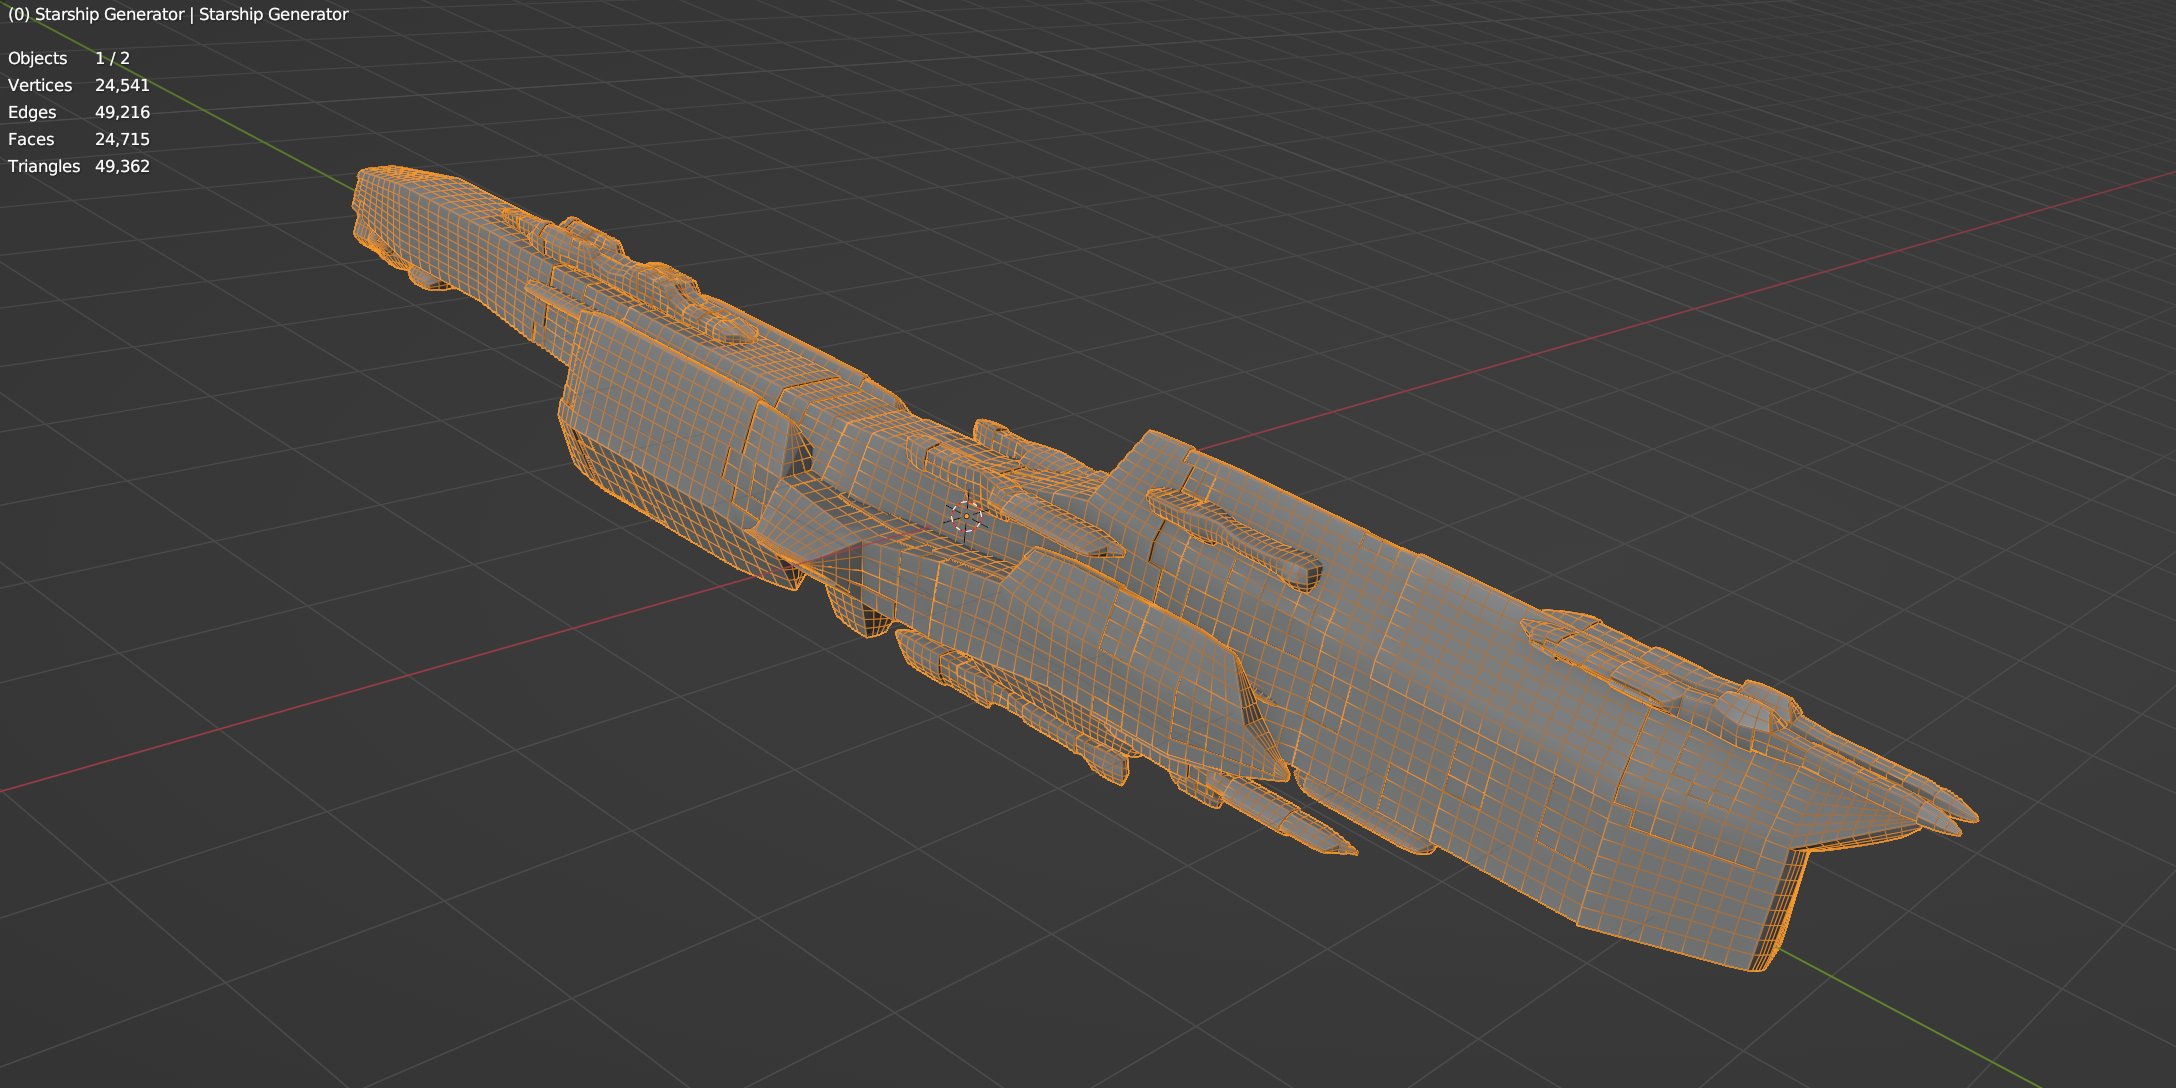
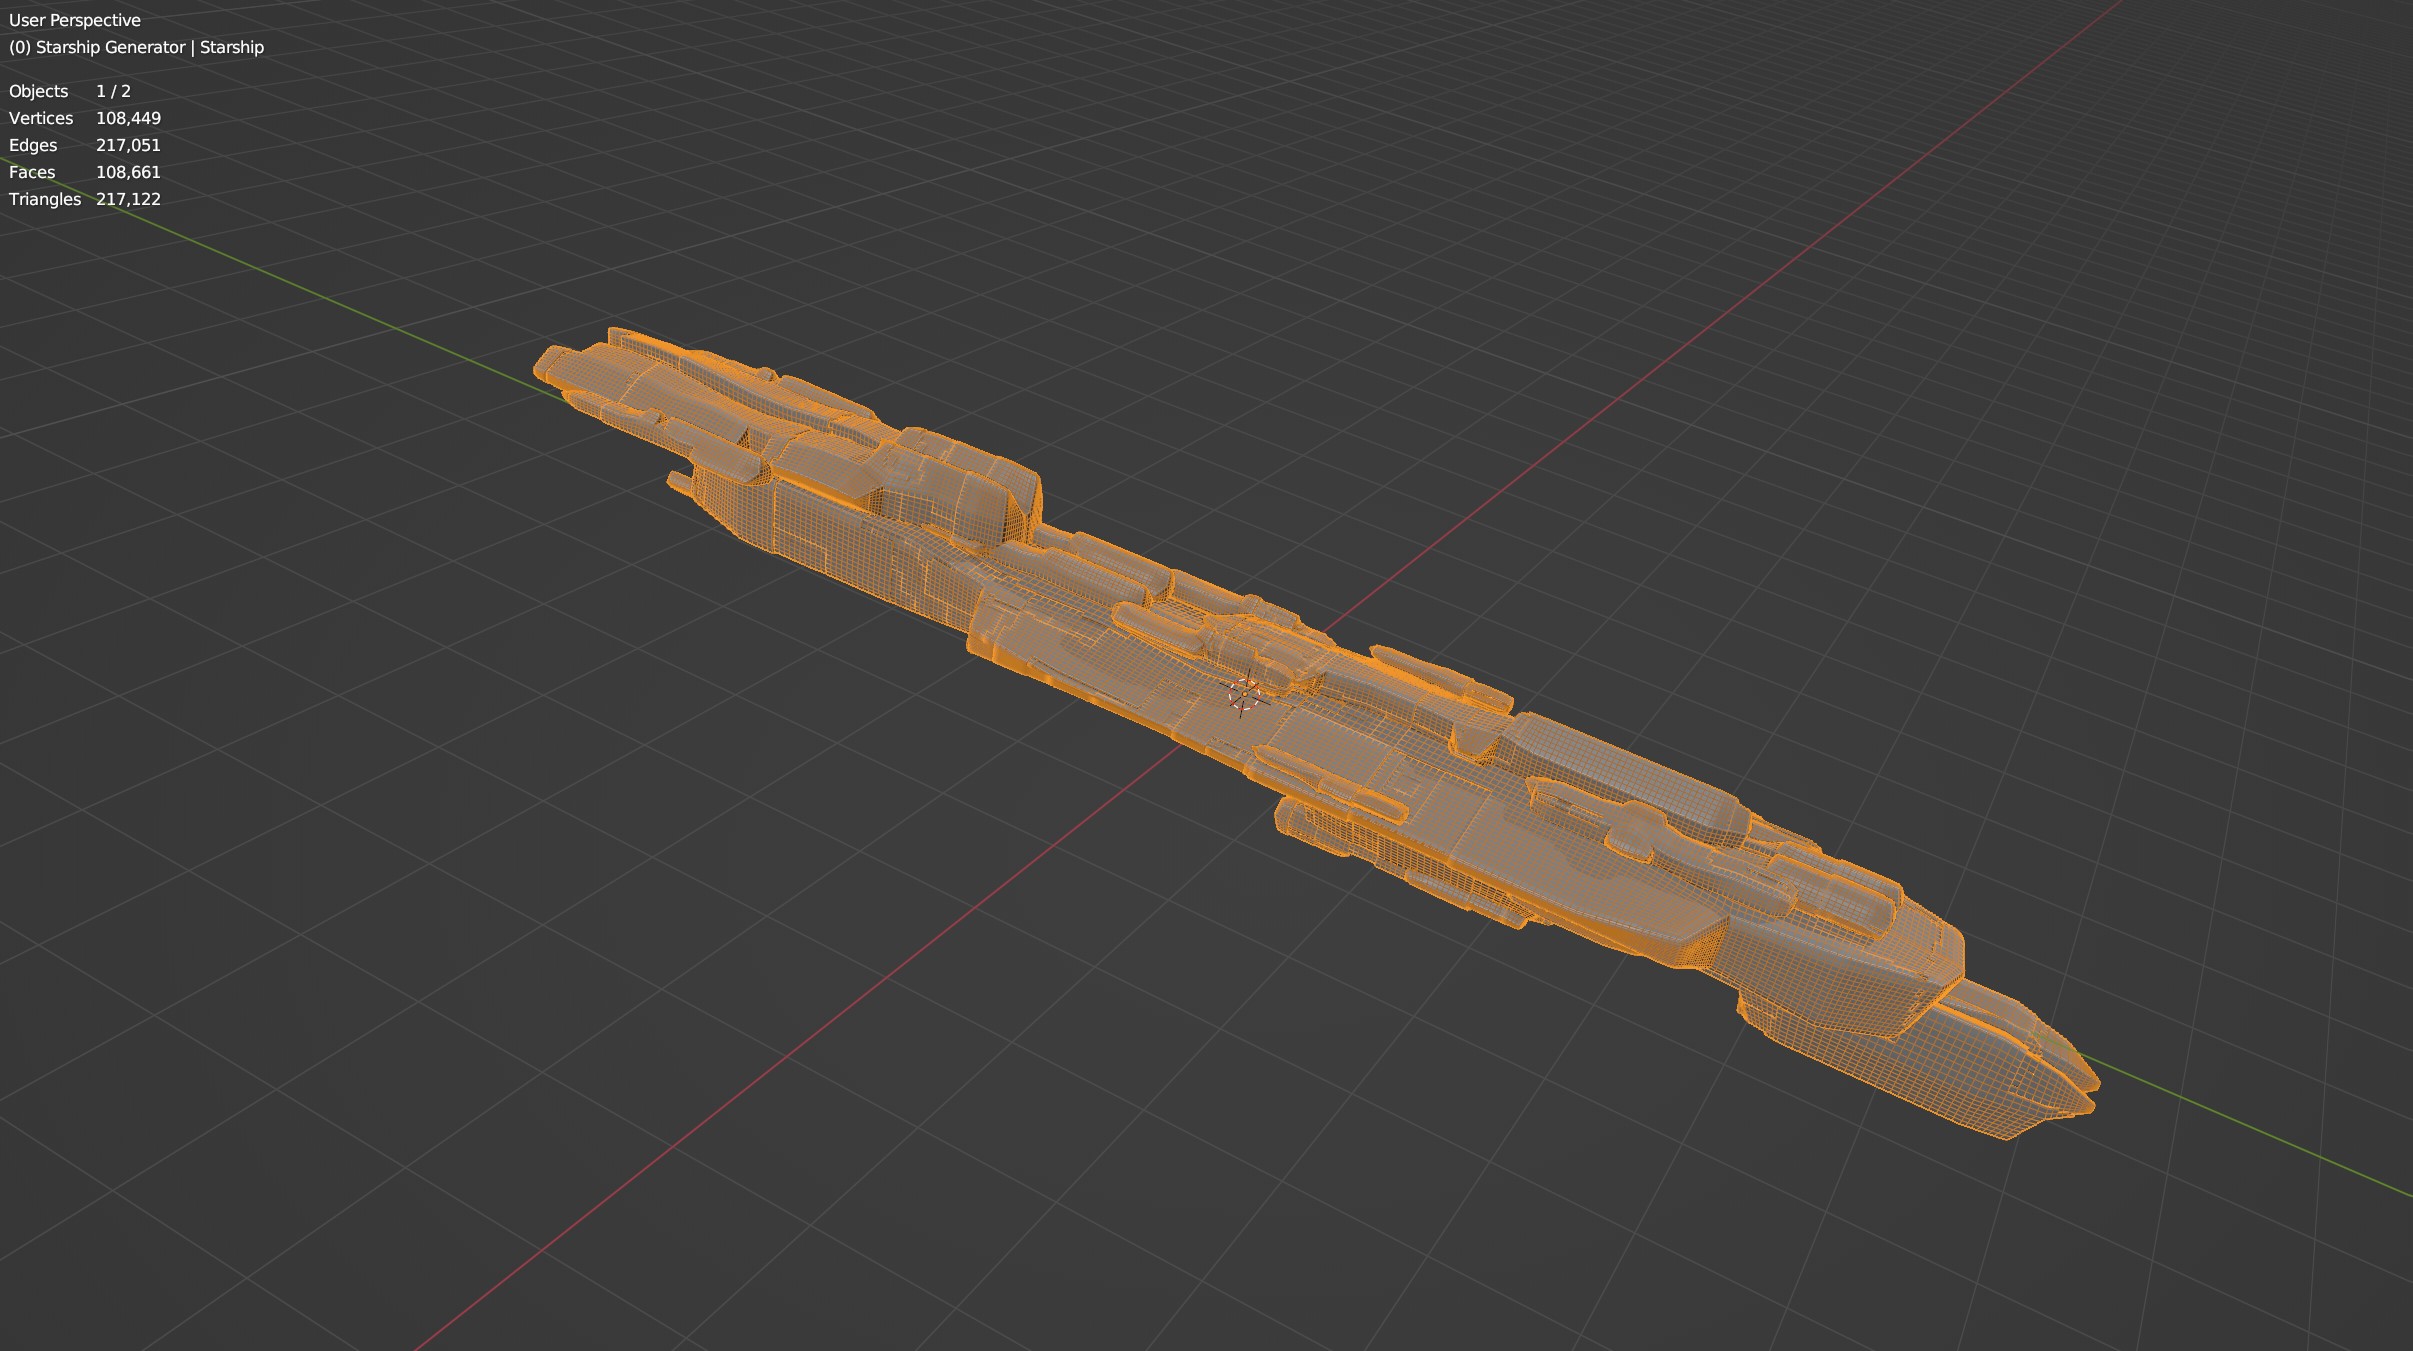
Show Wire: Show the wireframe of the object in the viewport.
Min Scale: Minimum Scale of the randomly generated objects.
Max Scale: Maximum Scale of the randomly generated objects.
Min No. Extrusions: Minimum number of Face Extrusions created in the generated objects.
Max No. Extrusions: Maximum number of Face Extrusions created in the generated objects.
Min Extrusion: Minimum Extrusions created in the generated objects.
Max Extrusion: Maximum Extrusions created in the generated objects.
Min Taper: Minimum Extrude Taper in the generated objects.
Max Taper: Maximum Extrude Taper in the generated objects.
Min Slide: Minimum direction of Extruded Faces in the generated objects.
Max Slide: Maximum direction of Extruded Faces in the generated objects.
Decimate Faces: Whether to use the Decimate modifier to reduce face count. This may be useful to be turned off when using Displacement.
Object Octree Depth: This changes the detail of the Remesh in the objects. Lower values are simpler objects.
Object Subdivisions: This controls number of subdivisions for the generated objects.
Min SubD Crease: This controls the minimum subdivision crease for the generated objects.
Max SubD Crease: This controls the maximum subdivision crease for the generated objects.
Big/Medium/Small Objects Modifiers
The Starship Generator first randomly selects a Big object, then randomly chooses a set of Medium objects and scatters them around the Big object’s surface, and then randomly chooses a set of Small objects and scatters them across the surface. It then optionally adds a panelling effect to all the objects (switched on by default).
Big Objects Modifier
This randomly selects an object from a specified collection to be the biggest object of the starship that other objects are attached to.
Collection: Which collection of objects to randomly pick from.
Seed: The seed value used to randomly pick and scale an object.
Random Rotate Increment: this will randomly rotate the objects at set intervals.
Medium Objects Modifier
This randomly selects objects from a specified collection, resizes them to a relatively medium size compared the the Big object, and scatters copies of them across the surface of the main object.
Collection: Which collection of objects to randomly pick from.
Seed: The seed value used to randomly pick and scale an object.
Density: The amount of objects to be scattered across the surface.
Min Scale: The minimum scale of the objects relative to the big object.
Max Scale: The maxiumum scale of the objects relative to the big object.
Min Offset: This is the smallest offset from the big object face normal the object will be placed from.
Max Offset: This is the largest offset from the big object face normal the object will be placed from.
Random Rotate Increment: this will randomly rotate the objects at set intervals.
Small Objects Modifier
This randomly selects objects from a specified collection, resizes them to a relatively small size compared the the Big object, and scatters copies of them across the surface of the object.
The parameters are the same as the Medium Objects Modifier as it uses the same Geometry Nodes.
Panels Modifier
This adds a panelling effect to the surface of the contructed objects. The panels are a combination of big, medium and small panels combined on top of each other to produce a varied effect. It is a basic version of the Panels modifier used in the Plating Generator.
Note
When using custom object collections or material displacement, you will likely want to switch off this panelling effect.
Tip
You could use this modifier on other objects if you wish by adding a Geometry Nodes modifier to a new object and appending the Starship: Add Panels node tree:
Tip
Jagged Panels
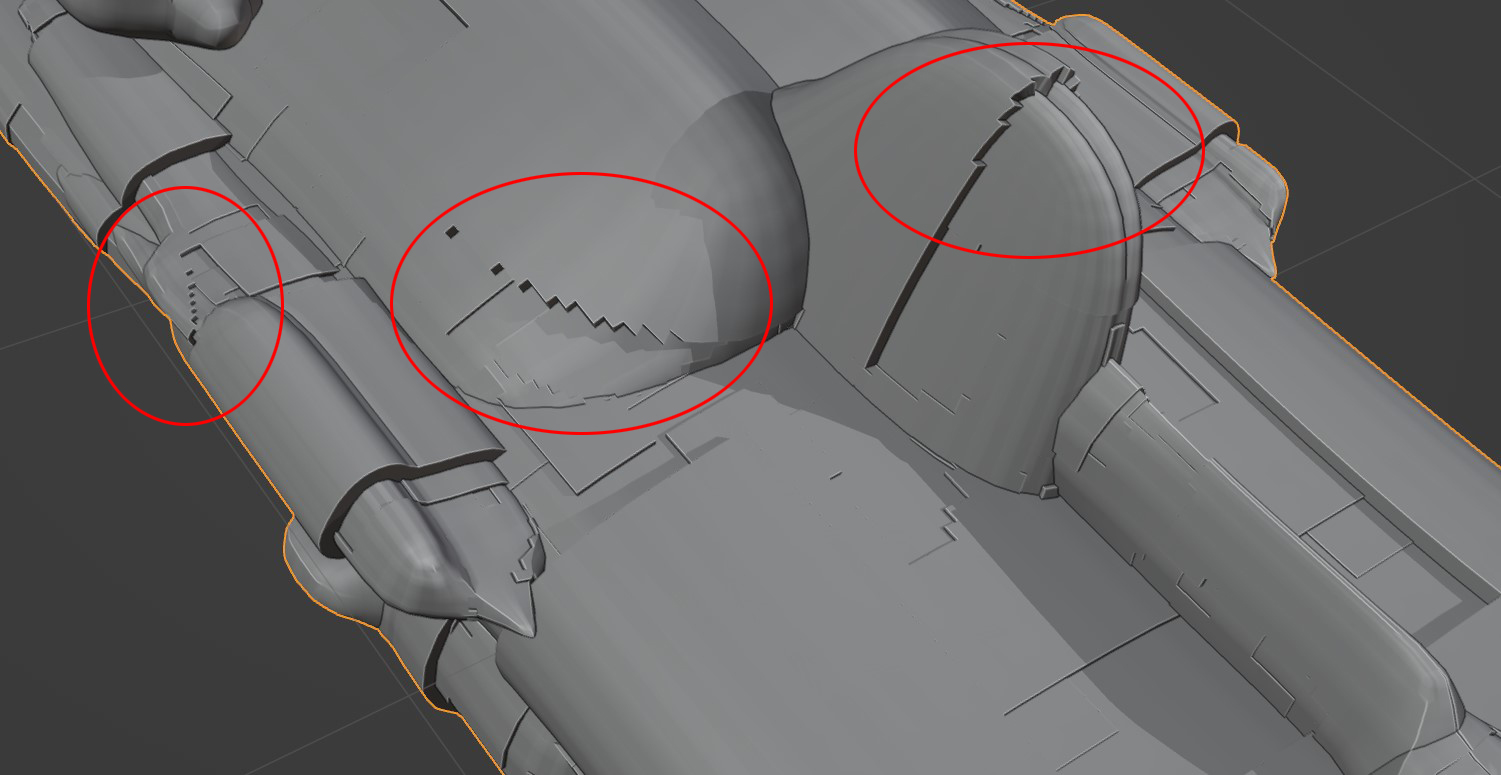
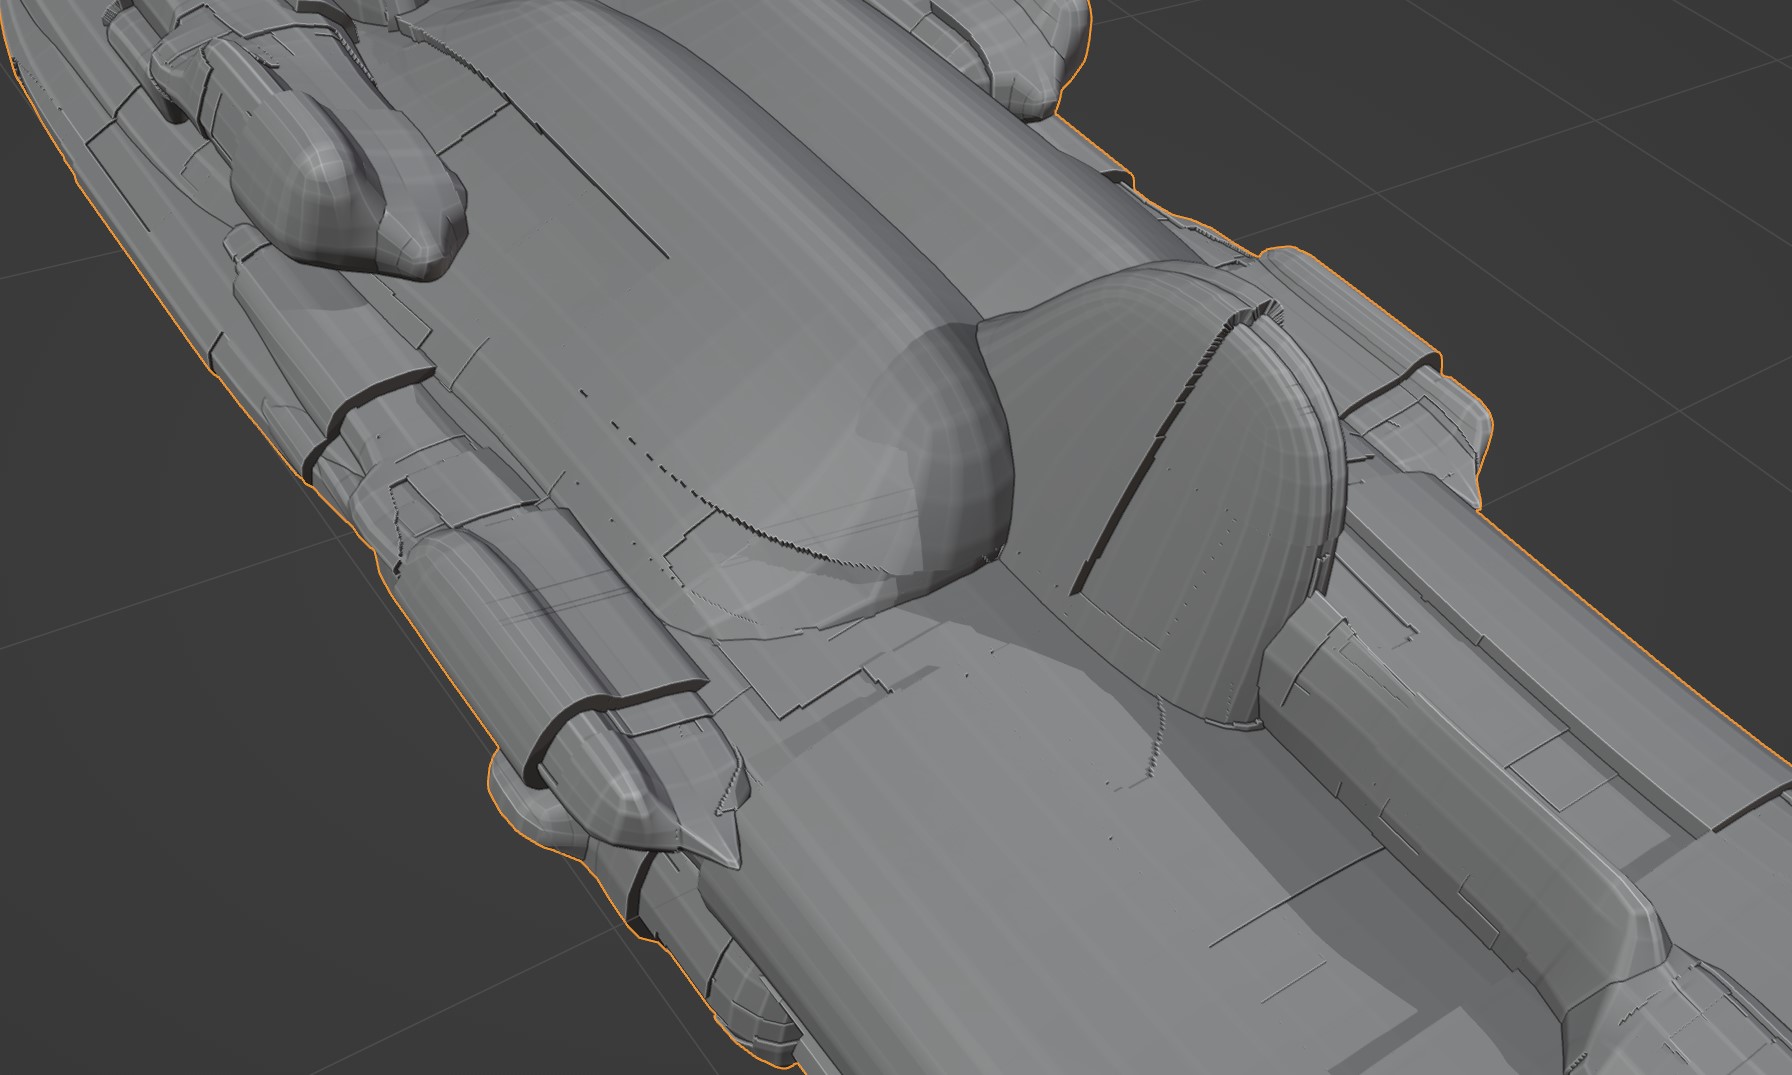
At times, jagged panelling can occur at the corner of objects due to the way panels are created using 3D Voronoi Cell Noise.
You can improve this by either decreasing or increasing the number of Subdivision Levels. Note that increasing Subdivision Levels is at the expense of calculation time:
Booster Modifier
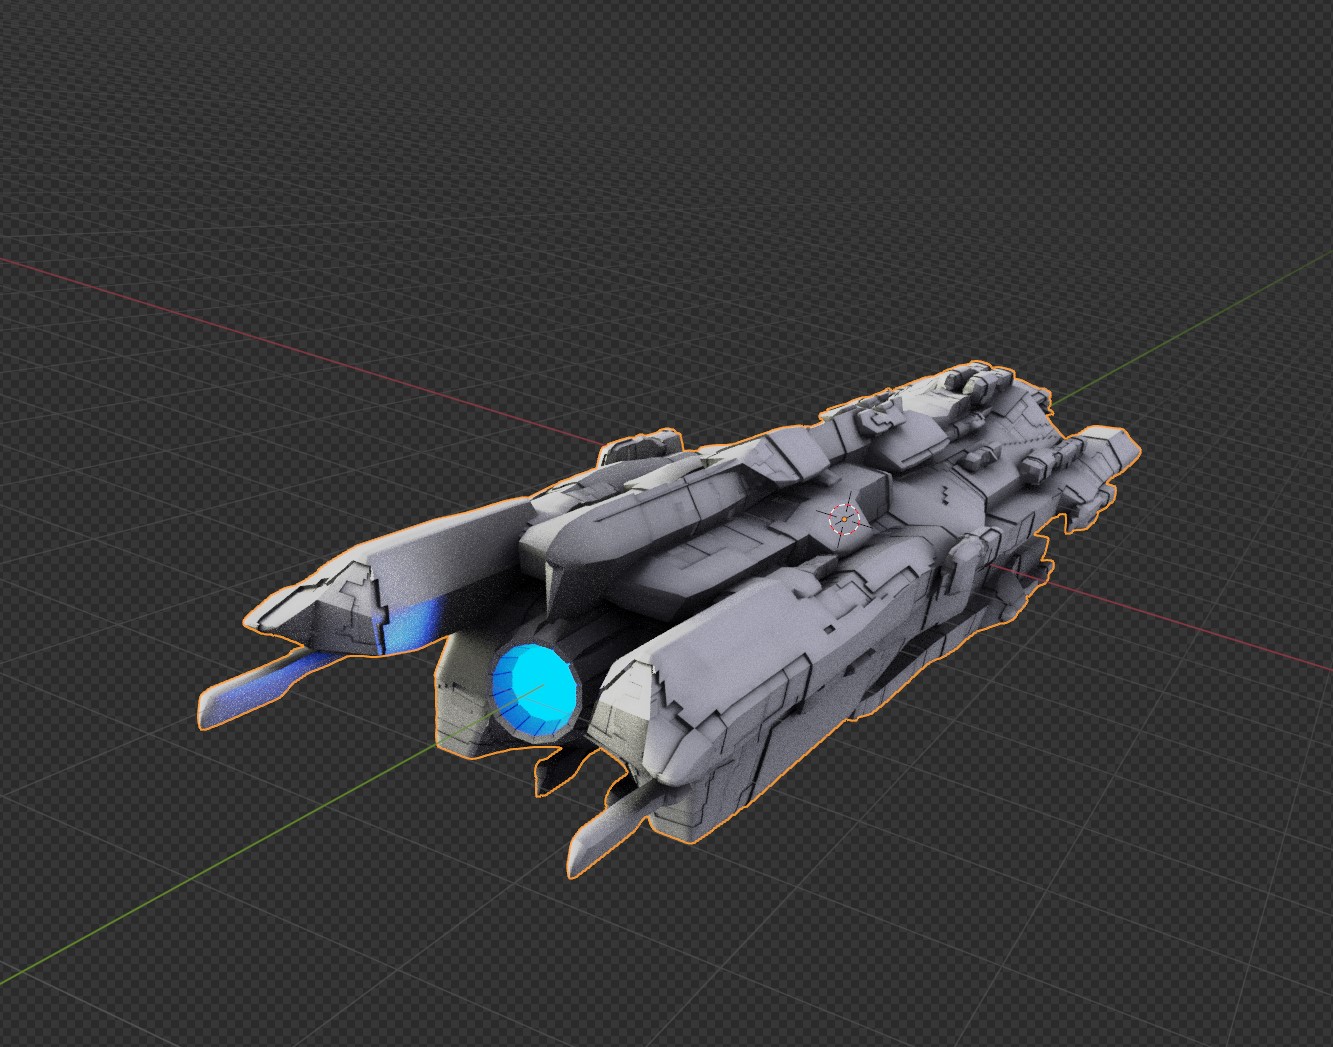
This modifier ‘slices’ into the back (or front) of the starship to create a recessed hole for a glowing booster effect. It also collapses the sliced faces to create a flat glowing object inside the recess.
Warning
As this modifier creates a ‘hole’ in the mesh, the starship won’t be ‘watertight’. If using custom objects or adding a Remesh modifier, it is suggested to disable this modifier.

Booster Material: The material to assign to the glowing booster object.
Flip: Flips the booster effect to the other end of the Starship.
Cut Off: How much to ‘slice’ into the object at the back to create a recess for the booster.
Recess: How far into the sliced object the flattened glowing booster will be placed.
Merge Factor: To flatten the glowing part of the booster object, the vertices are first merged together. This defines the merge threshold.
Scale Factpr: How large the booster object should be relative to the size of the recess created.
UV Map Modifier
This modifier creates a UV Map for the object.
Seam Angle: UV seams are created based on the angle of the edges.
Materials Modifier
This adds a base material to the objects at the first slot of the original objects. This allows you to add other materials to the other material slots of any custom objects.
Material: Material to assign at material index 0. A Default Material is applied which you can alter in Blender’s Shading section, or you can change to another material.
Custom Mirror Modifier
Note
Blender 4 only.
This modifier mirrors the object but at a random offset from the center mirrored axis. This aims to create further variation in the shapes.
Seed: Random Seed associated with the random offset range.
Min Offset: The smallest possible offset from the center compared to the size of the object (0.0 = center, 1.0 = size of object in axis direction).
Min Offset: The largest possible offset from the center compared to the size of the object.
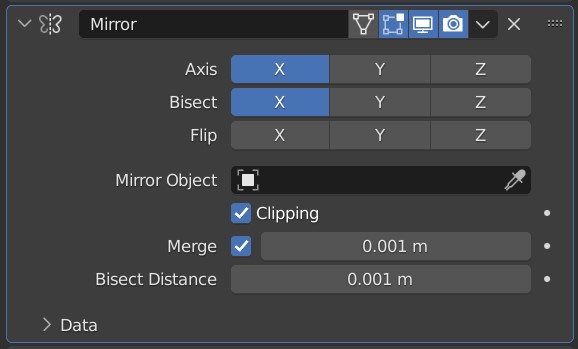
Mirror modifier
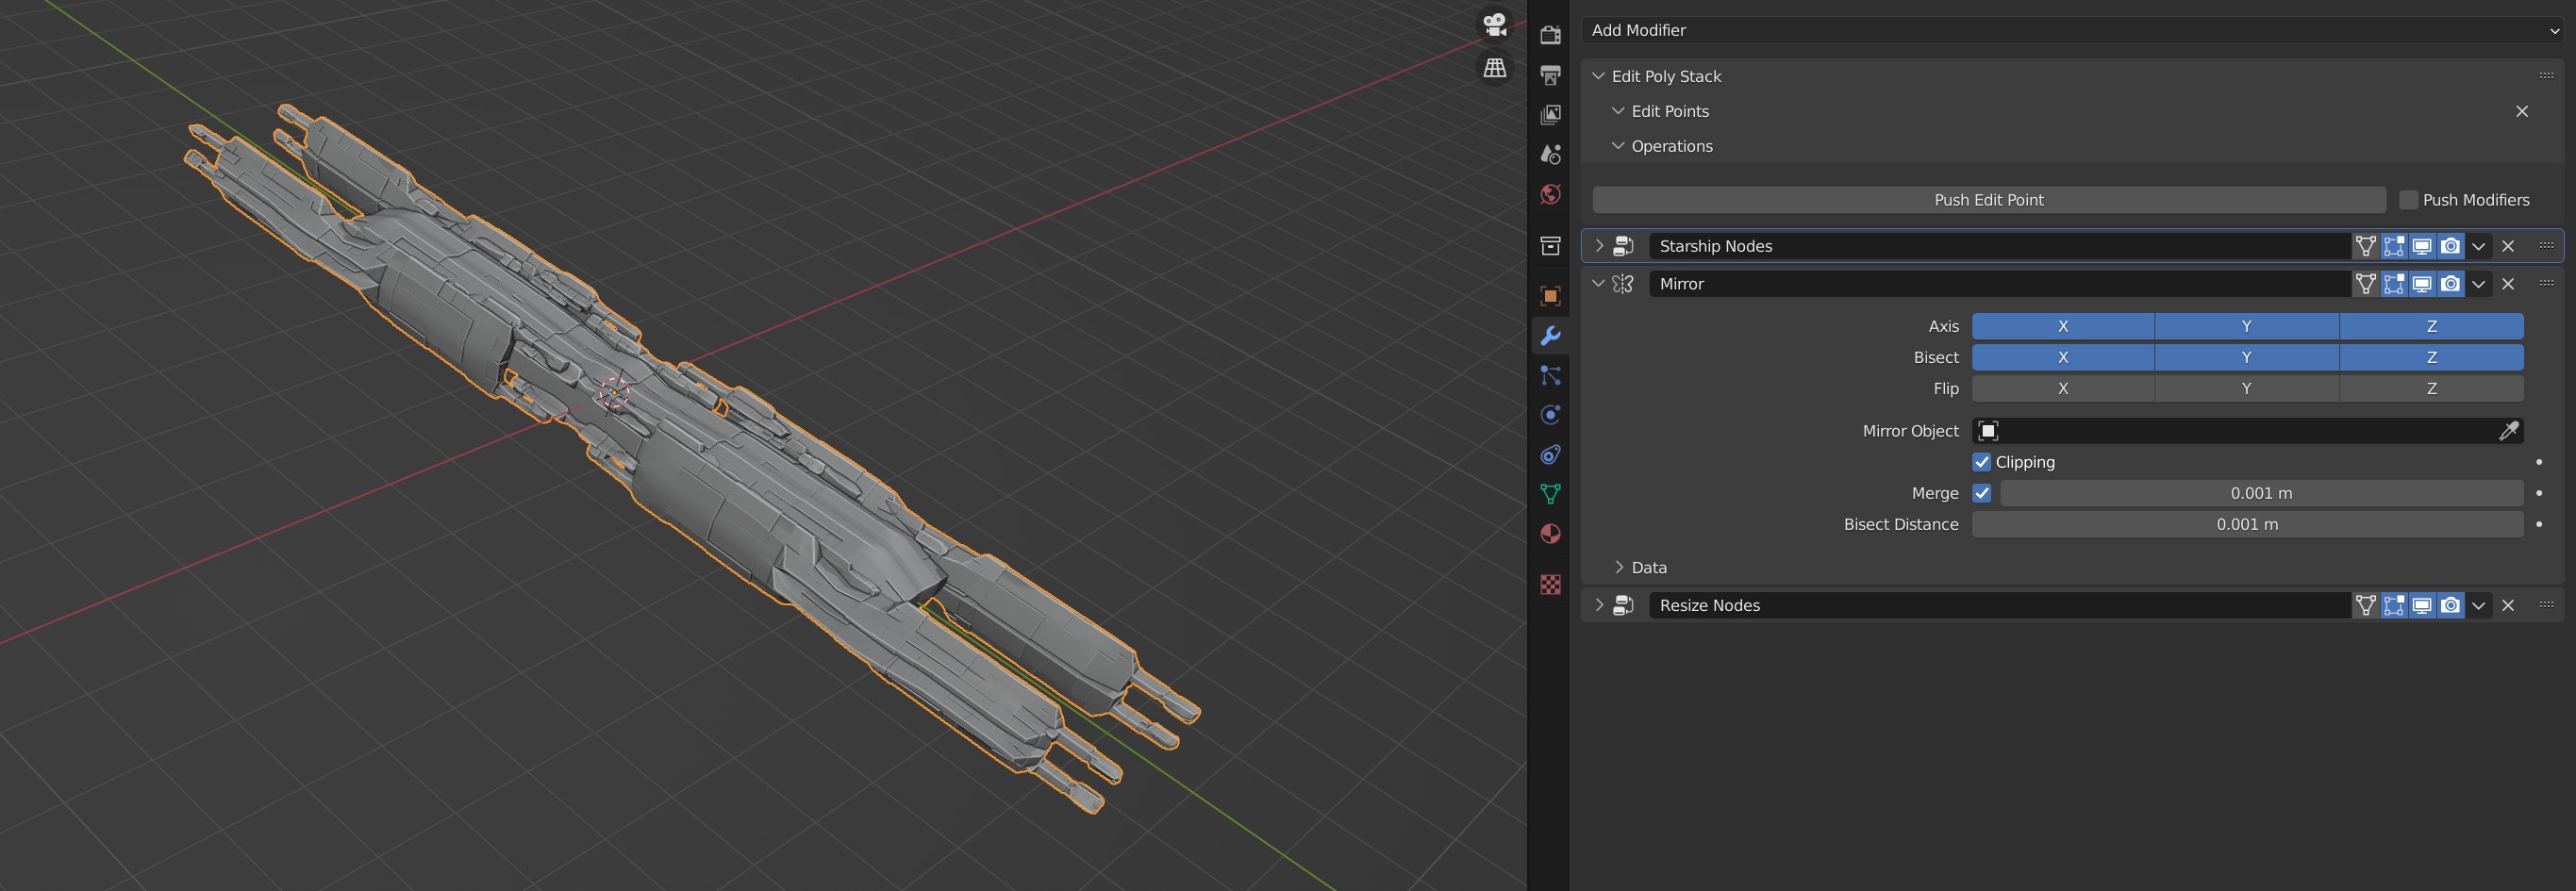
The Starship mirrored in all directions.
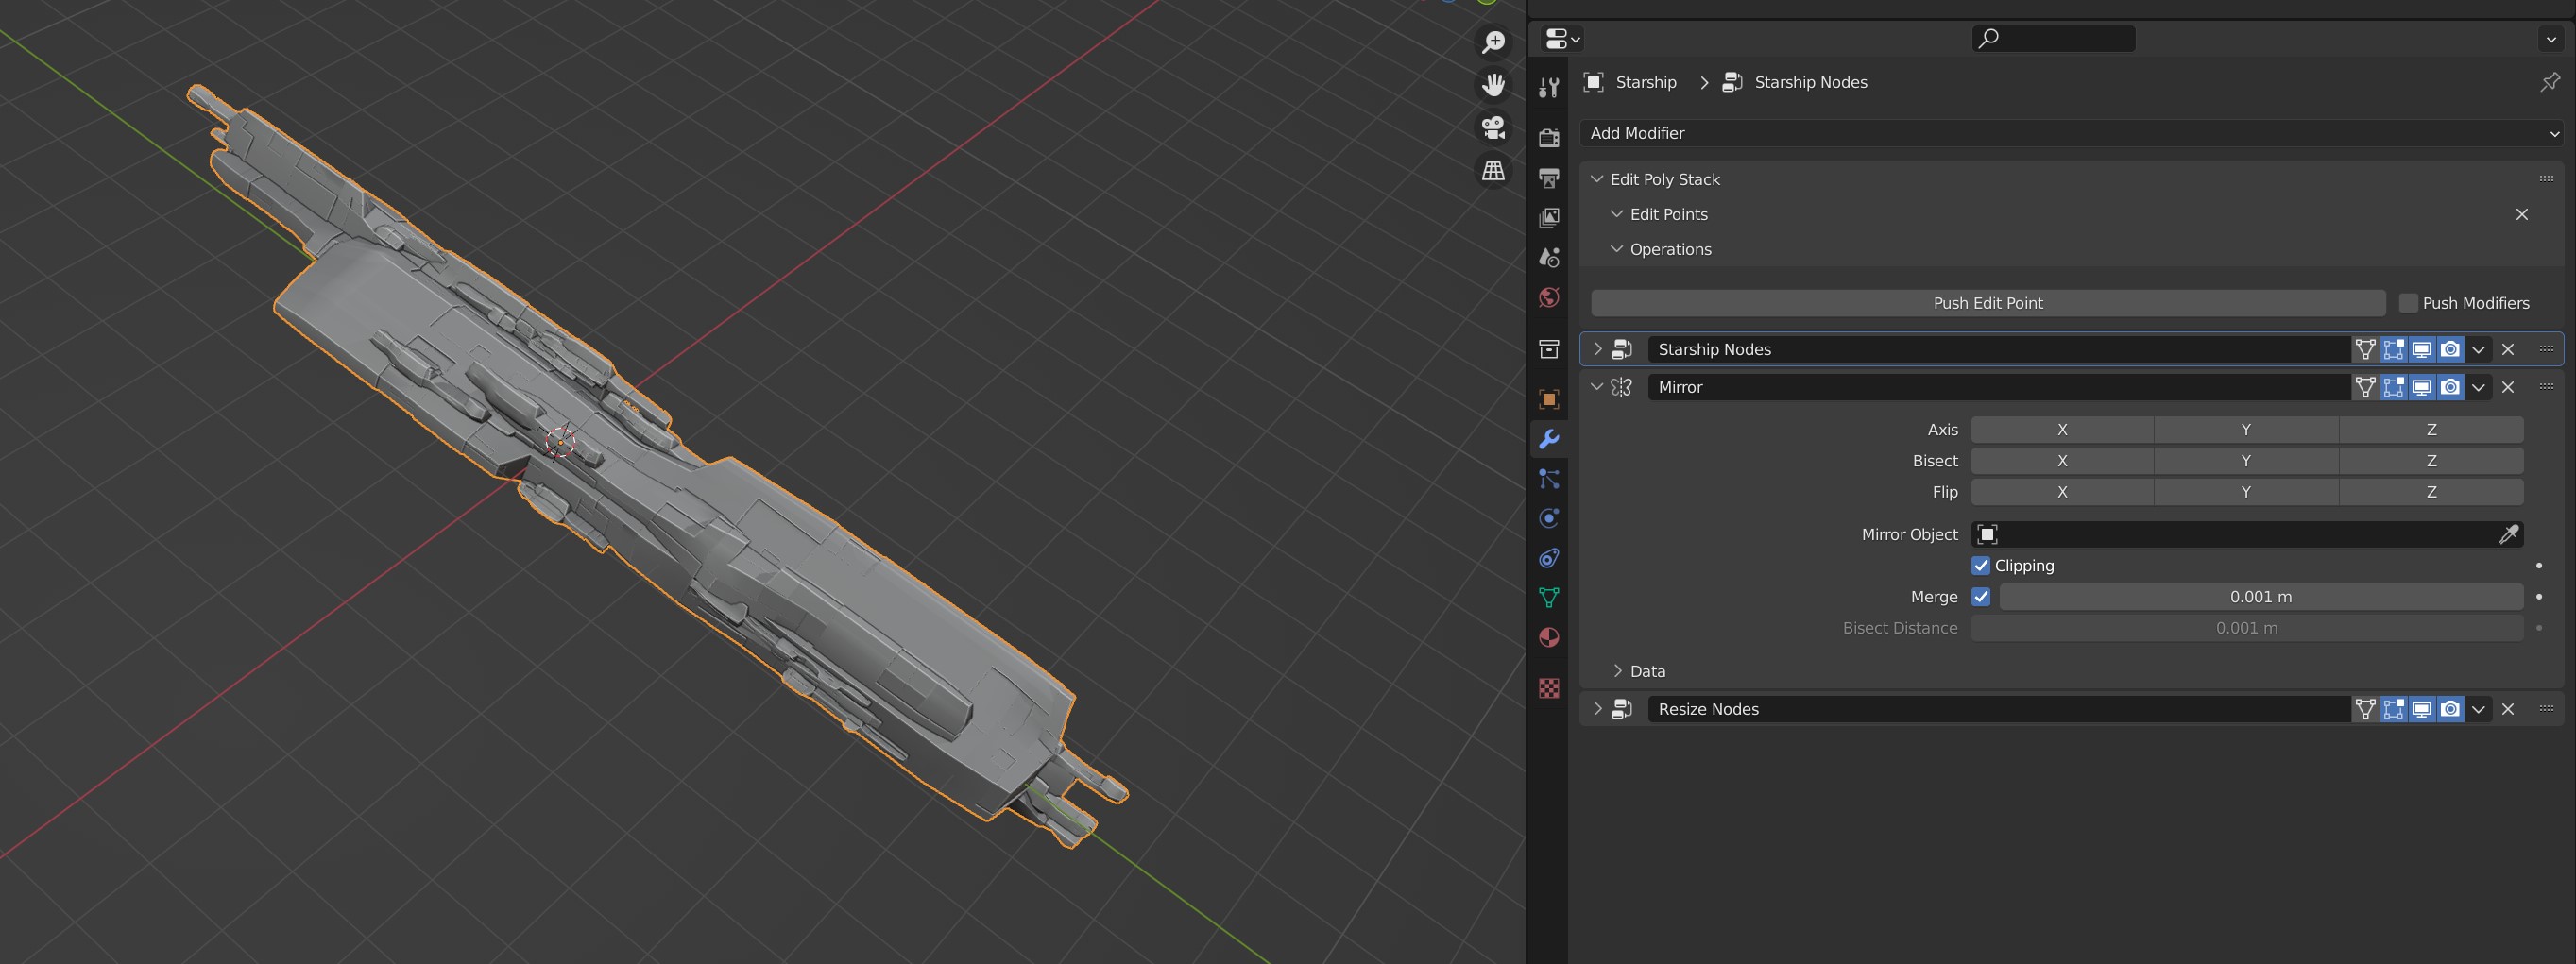
The Starship with no mirror.
This is a standard Blender Mirror modifier made to make the Starship look symmetrical. Choose to disable this or mirror in more directions. Remember to also select the Bisect axis when mirroring which will split the object.
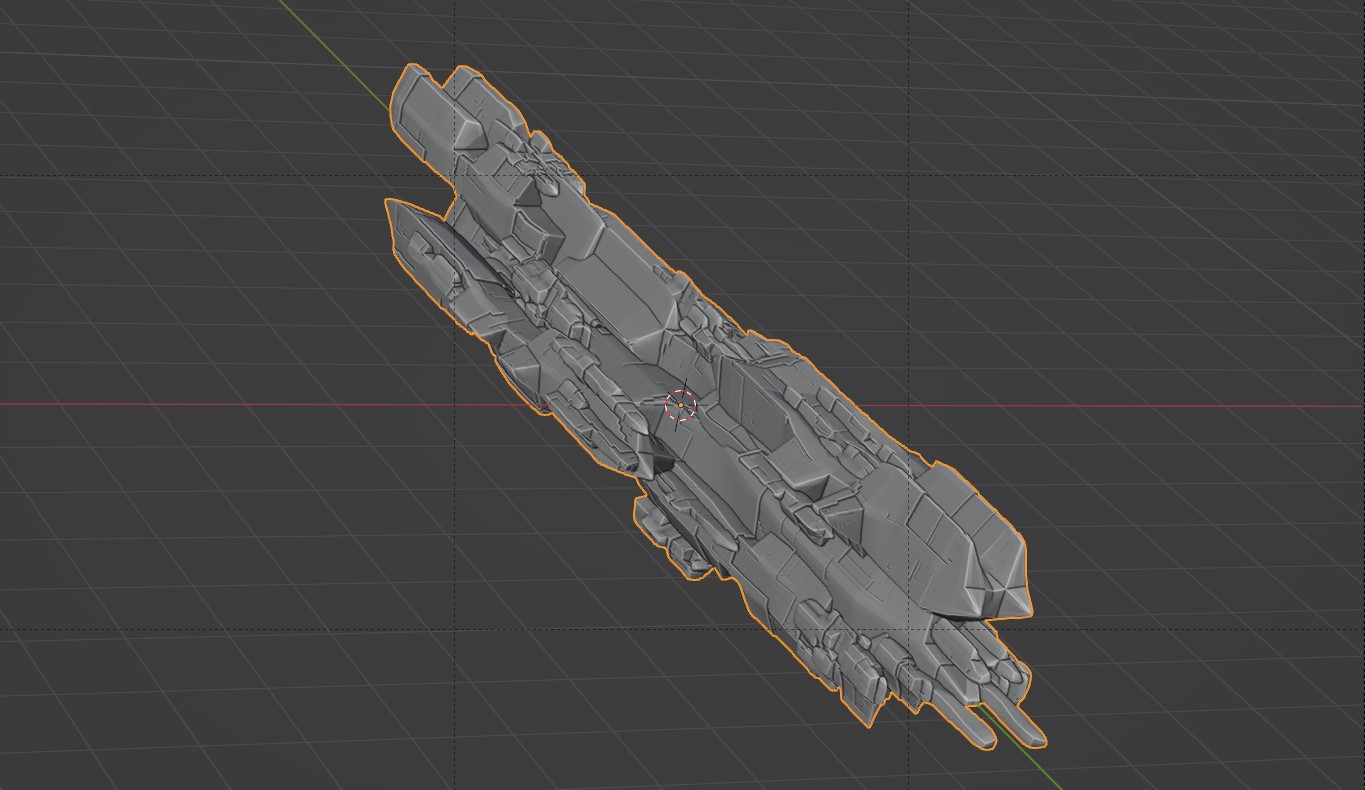
Resize Modifier
This modifier scales and centers the generated Starship object along the Y axis so that it is always at a set size.
Length: The size of the Starship object in the Y axis.
UV Project modifier
This adds a rudimentary UV Map. The UV map created will contain overlaps and it is recommended to collapse the modifiers on an object and use a function such as UV Smart Project, especially when exporting.
Default Objects Controls
Warning
Advanced users only!
By default, the Starship Generator creates itself by using hidden collections of objects that have their own set of parameters. These parameters can be found in a special Empty object called Starship Component Control.
Untick the Exclude from View Layer checkbox next to the Starship Components collection and select the Starship Component Control Object. Then go to the Object Data Properties tab in the side panel. Expand the Custom Properties section and you will find the properties that control the overall shape for each generated component object.
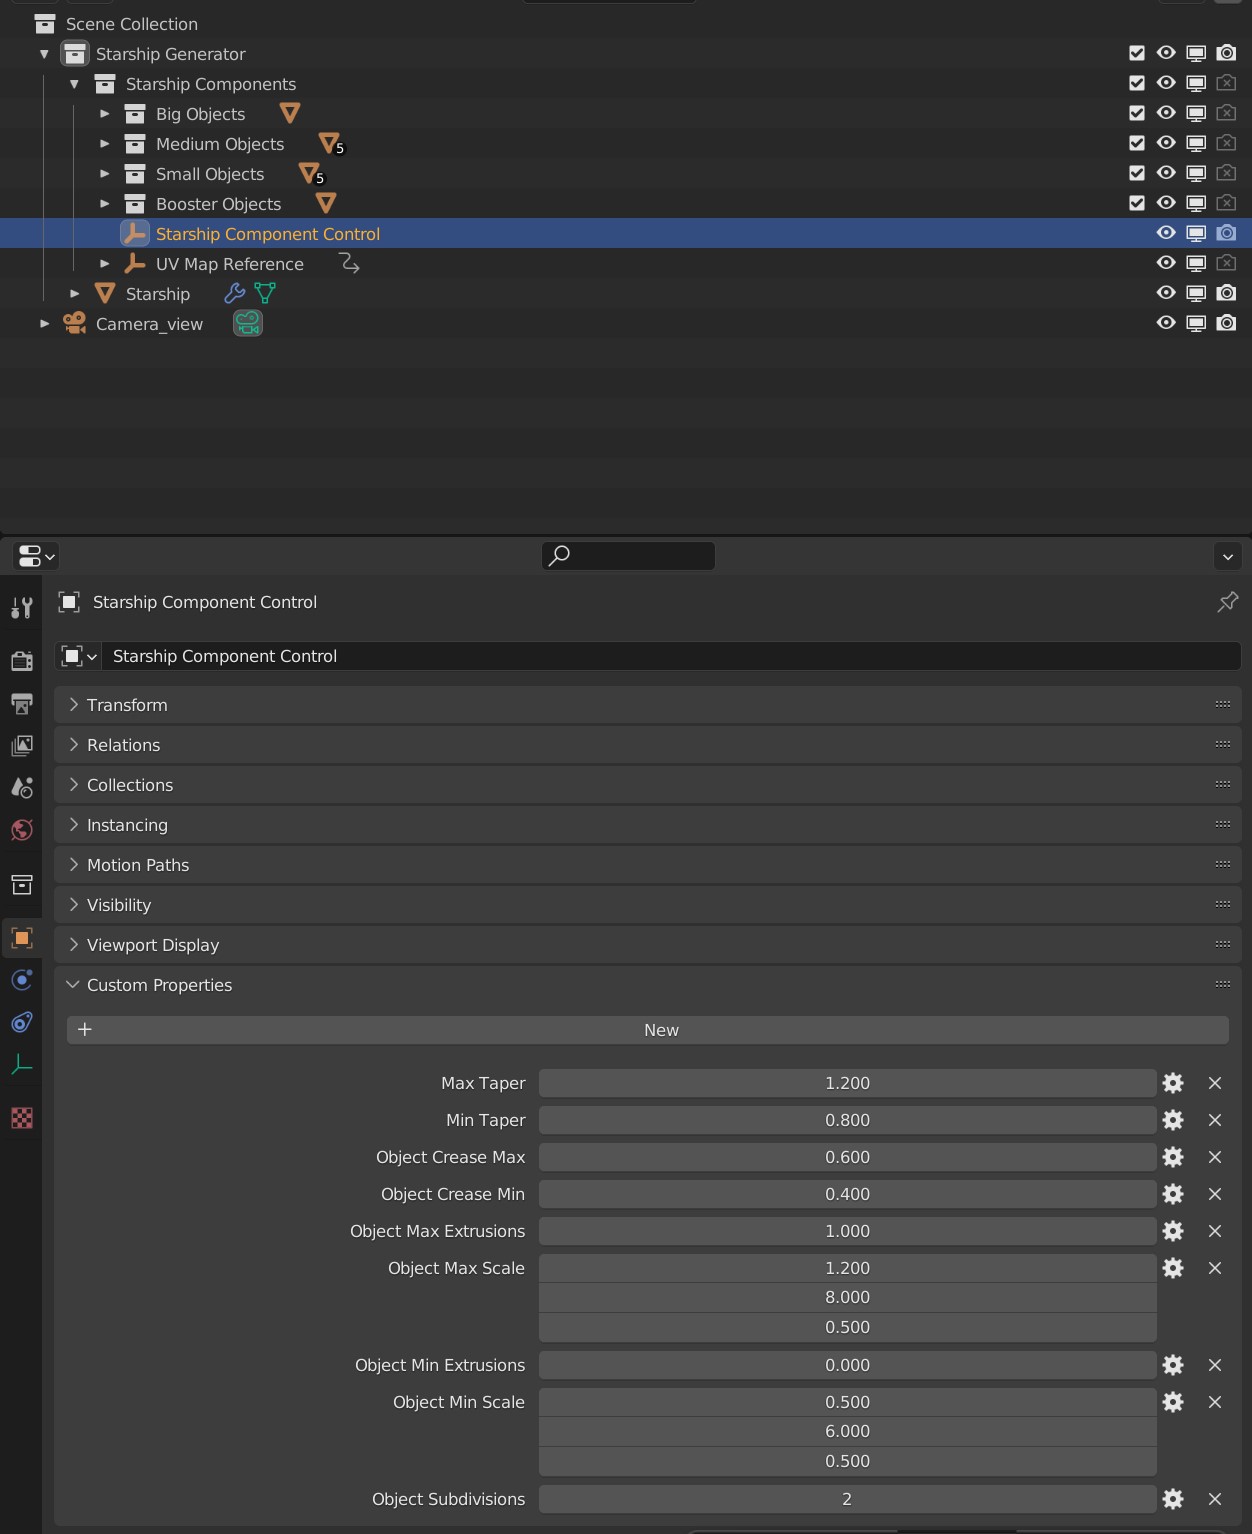
Parameters are as follows:
Max Taper/Min Taper
This controls the tapering of the underlying extrusions of the default objects.
Max Crease/Min Crease
When subdividing the Starship object with Object Subdivisions, random edge creasing is applied to the sharper edges to give the overall shape more variation in its form. If custom objects are used, this value will be ignored.
Object Max Extrusions/Object Min Extrusions
Extrusions = 1

Extrusions = 2
This controls the complexity of the underlying extrusions of the default objects.
Object Min Scale/Object Max Scale
This controls the minimum and maximum proportions of the default objects.
Object Subdivisions
Object Subdivisions = 1
Object Subdivisions = 2
To produce a smoother result in the shapes, subdivision is used. Increasing this number will make the object look smoother at the expense of computation time.
Note that changing the subdivisions will also change where individual objects are placed, producing an entirely different Starship object every time.
It is not recommended to go above 3 subdivisions as this will reduce performance.