Quick Start
Open Blender and install the add-on if you haven’t already.
Start a new scene and delete the default cube, or open an existing scene.
Add a Starship object through the standard Add -> Mesh menu in Blender. Access this menu either through the Object menu at the top of the 3D view or by pressing Shift+A. Select the Starship option:
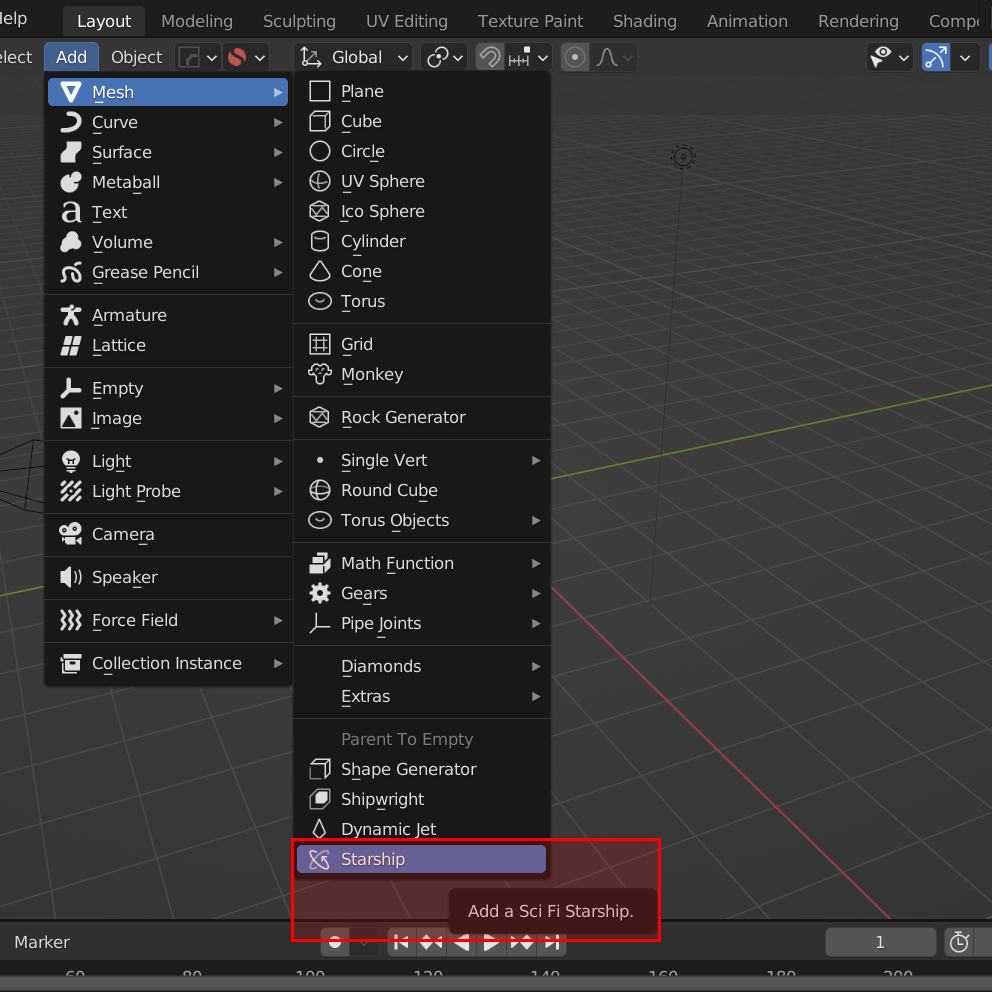
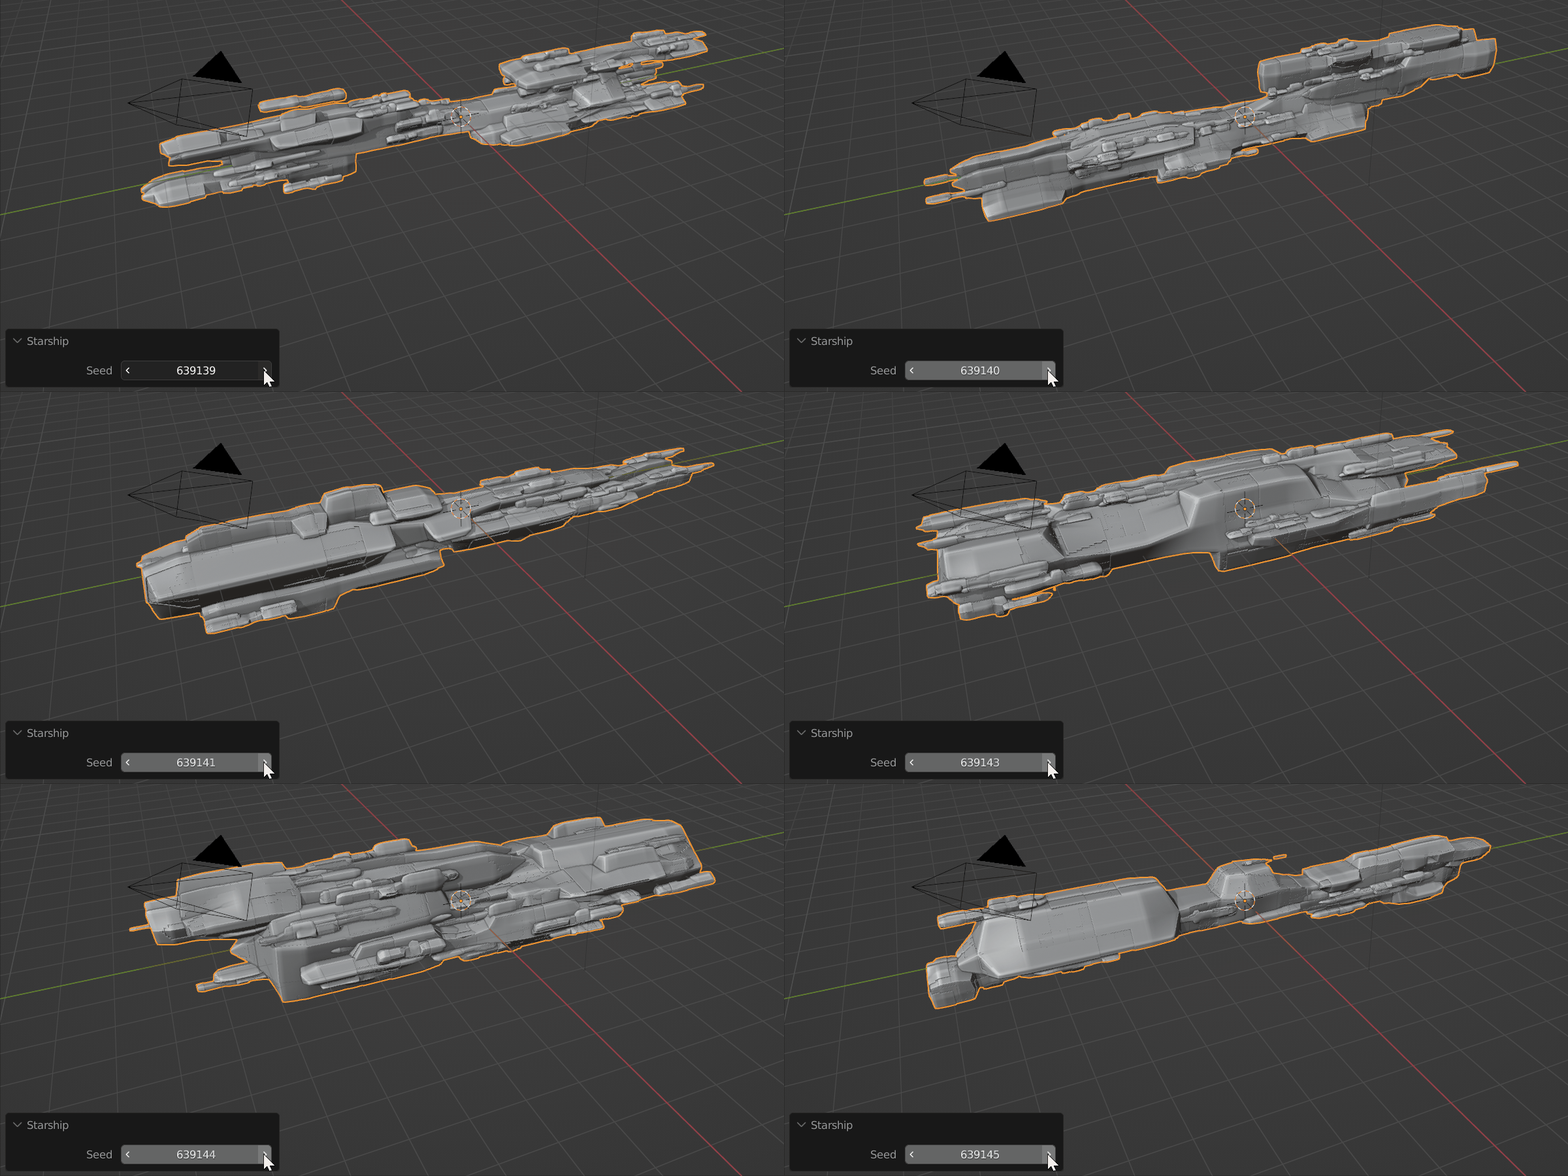
A new random starship model will be added to the scene.
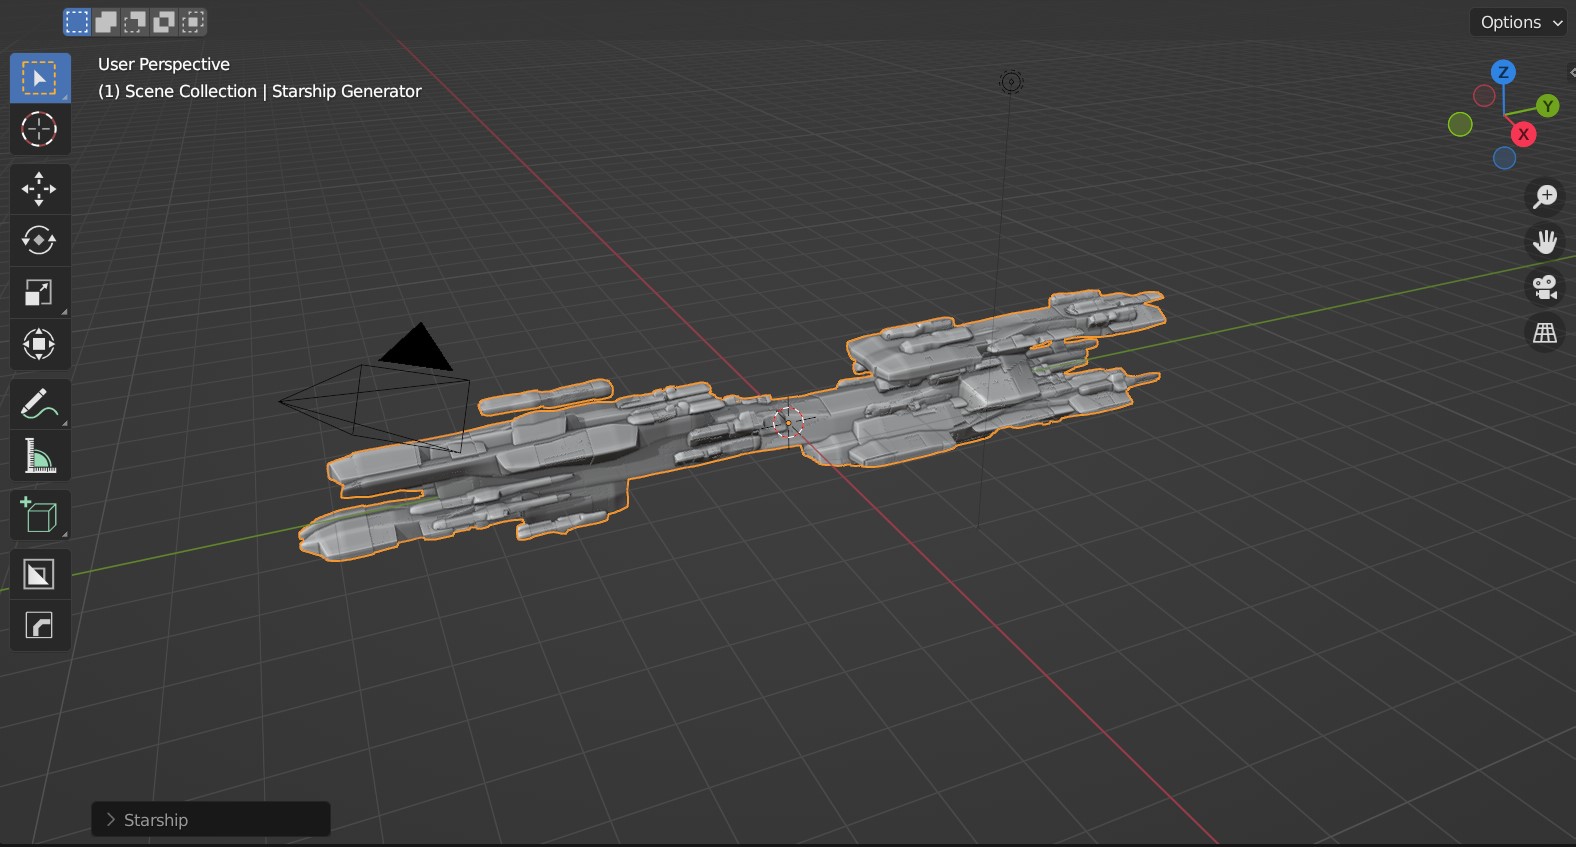
Expand the small menu that appears in the bottom left of the viewport marked Starship.
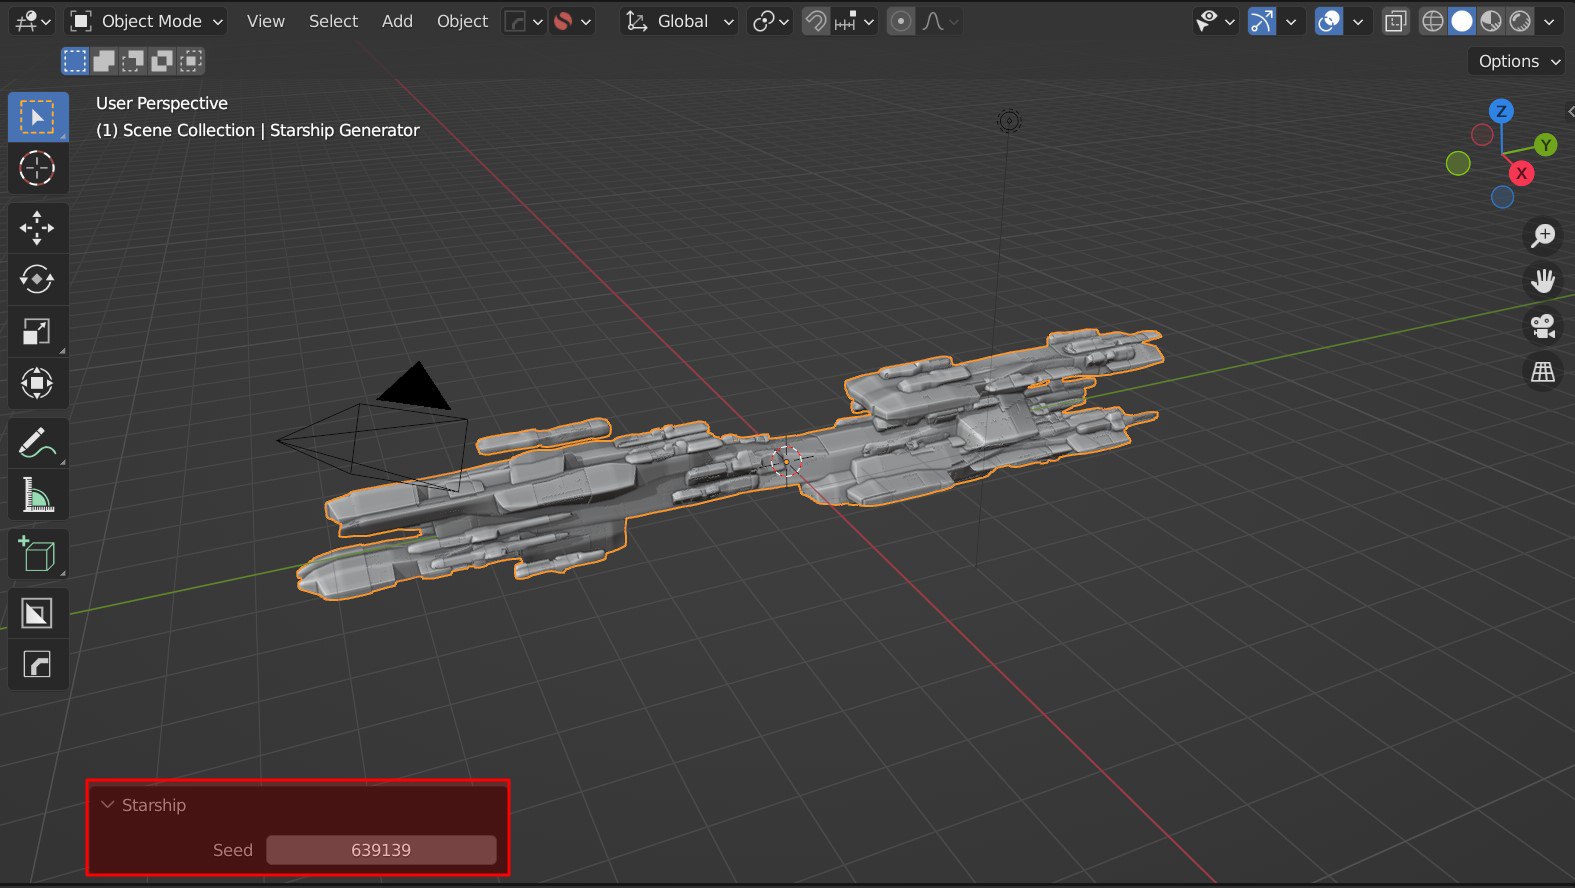
Change the seed number until you find a shape you might like. Don’t worry if this initial menu disappears when you click away: you can always change the seed value later by going to the Starship Controls Modifier.
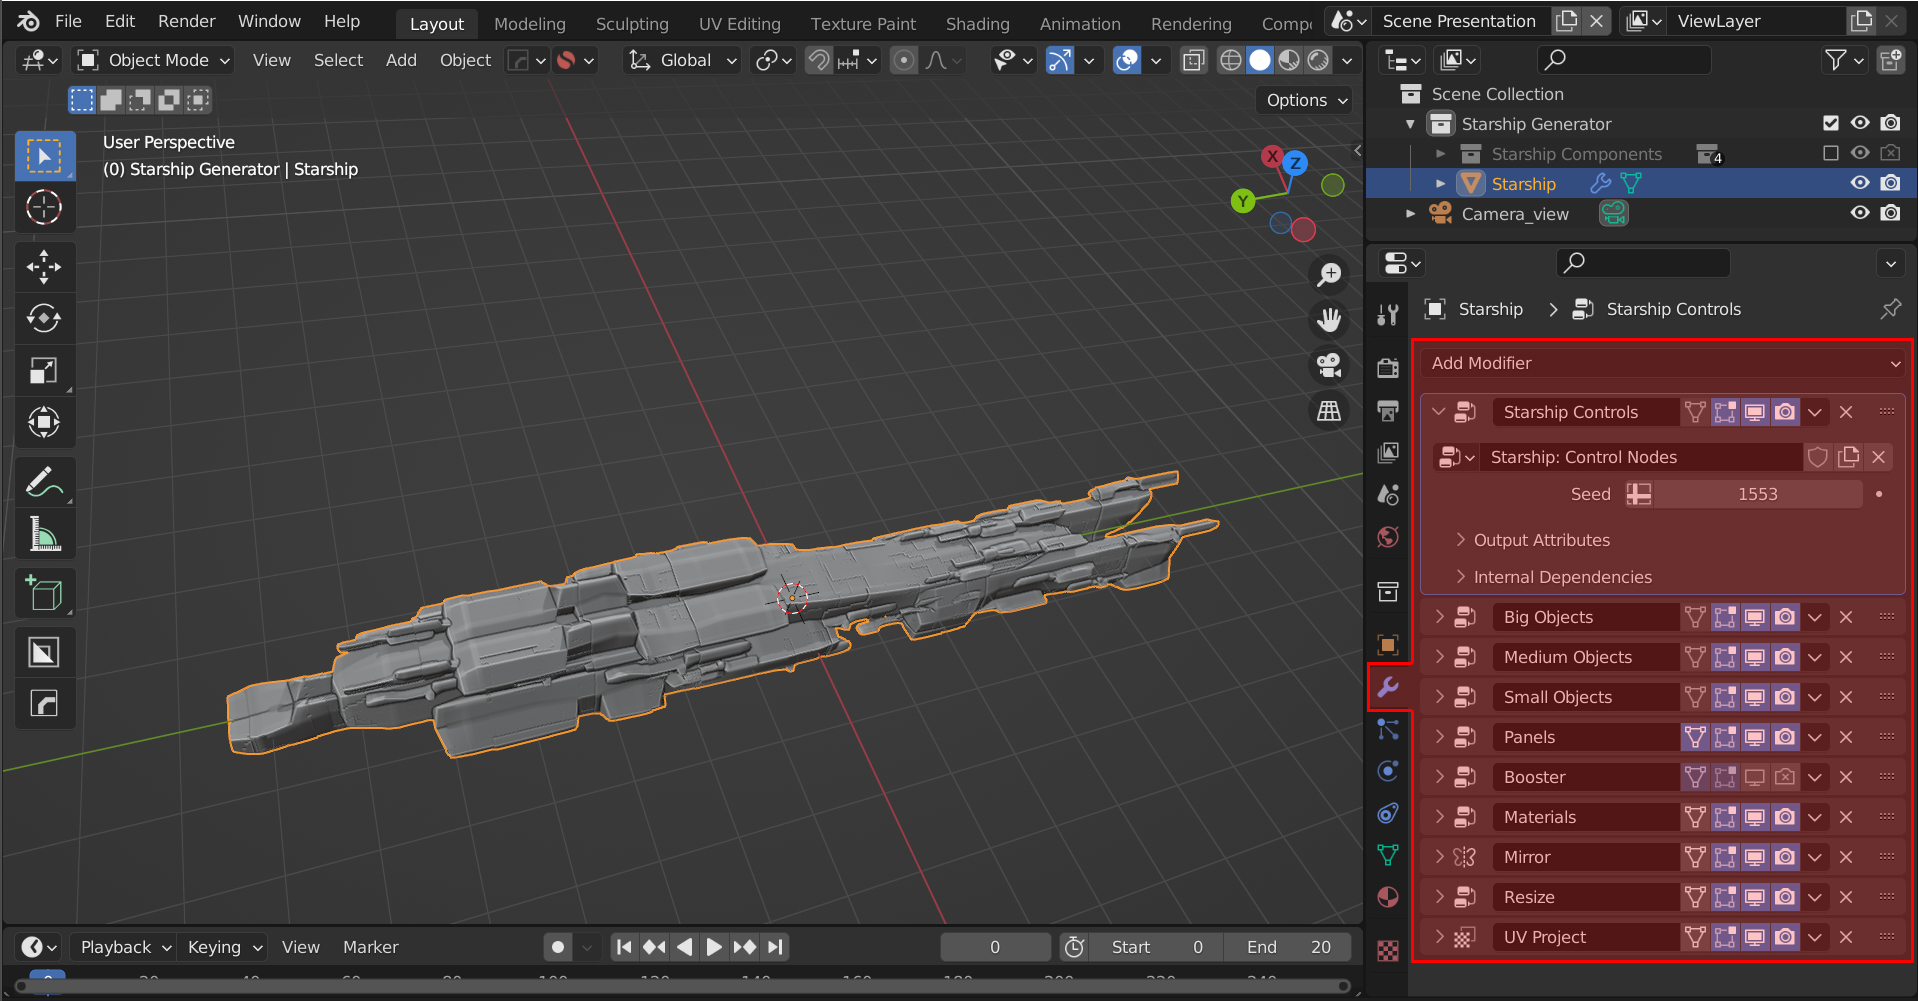
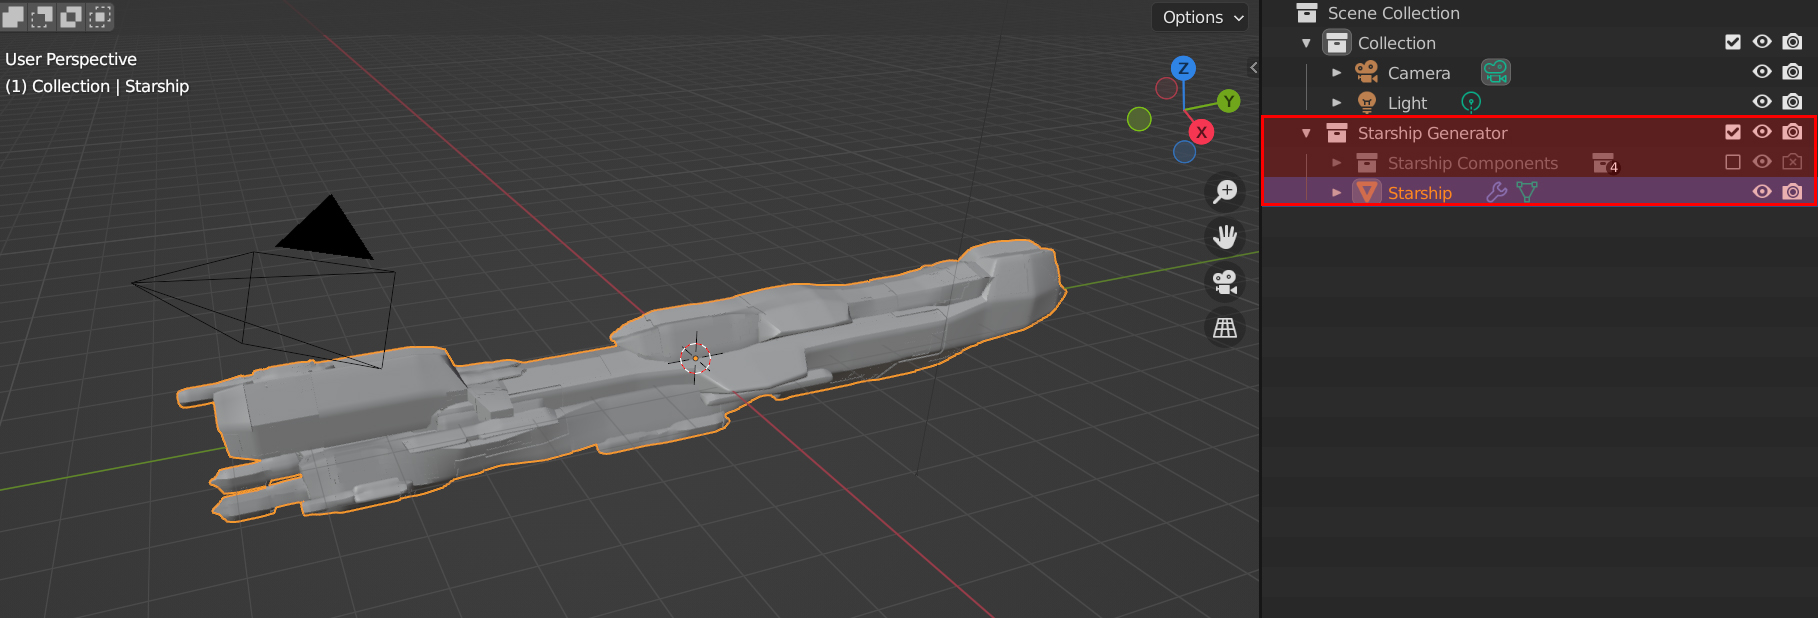
Note in the Outline view that a new Starship Generator Collection has been added to the scene, which contains the Starship object and its hidden supporting components. Adding more starships will add more collections:
With the Starship object selected, go to the modifiers tab where you can change the Controls:
